In this post I want to talk a little bit about some challenges I ran into when using a 3D printer, and how I resolved them. The one that I bought for this robot project (LocksleyFox) is called the QIDI Plus 5, and it's a pretty good printer. It's not one of the cheaper ones, nor is it super expensive. It's around $700, but it's a good size, and it has a lot of features.
One of the disadvantages, though, is that it doesn't do too well with multicolor printing. Although there is a way to do it, I think it wastes a lot of filament. But the good news is, for this project, I don't really care about multicolor, so it's not really a concern.
TPU and the feed tube
There are a few different types of material that are used for the filament. The most common one is called PLA. There's another one that I really wanted to use, because I was printing something for my son and I wanted it to be a little bit soft, since it was something you hold in your hand.
Of all the materials that I have, there's one called TPU. That was one I had actually used with some success for my robot design, basically for the foot part and also for a knee pad. Although there were some minor printing problems, I was able to print it, and there weren't any big problems. So I thought I would go ahead and print in TPU again for this controller design, just to give it a more rubbery feel. PLA is generally much easier to print with, but it's quite hard, so it doesn't really feel good if you have something that's sitting in your hands.
The first problem I had was that it was really hard to get it fed inside of the machine. Typically, when you use PLA, which is much harder, you can just push it down. It goes through a plastic tube all the way from outside the back of the machine into the extruder and all that other cool stuff. You just push it in with your hand, it's pretty easy to feed in, and then there's a button that says Load.
But when I was trying to load the TPU, it just wasn't working. It kept not pulling it in. If you look, it's pretty clear why it happens. TPU is very soft, kind of rubbery, and there's a little bit of extra space at the sides of the tube, so when you push it, it bunches up.
You might wonder why it didn't happen the first time I used TPU. My theory is that it is because that time I used it right after opening the package, whereas in this case I took it right out of the dryer. The filament dryer is used because moisture gets absorbed over time (which can cause printing problems), but I think using it in a warm state made it even more rubbery, and might have been what made it hard to feed.
After going back and forth experimenting with that, I finally asked QIDI's support team. Fortunately they were pretty responsive. I think it just took them a few hours, and keep in mind they're in a different time zone. What they recommended is printing out an external holder which lets you mount the spool outside and above the printer, on the top of it. Keep in mind that the normal spool holder I was using for PLA is on the back side. Mounting it on top gives you a more direct, straight path from the spool to the extruder.
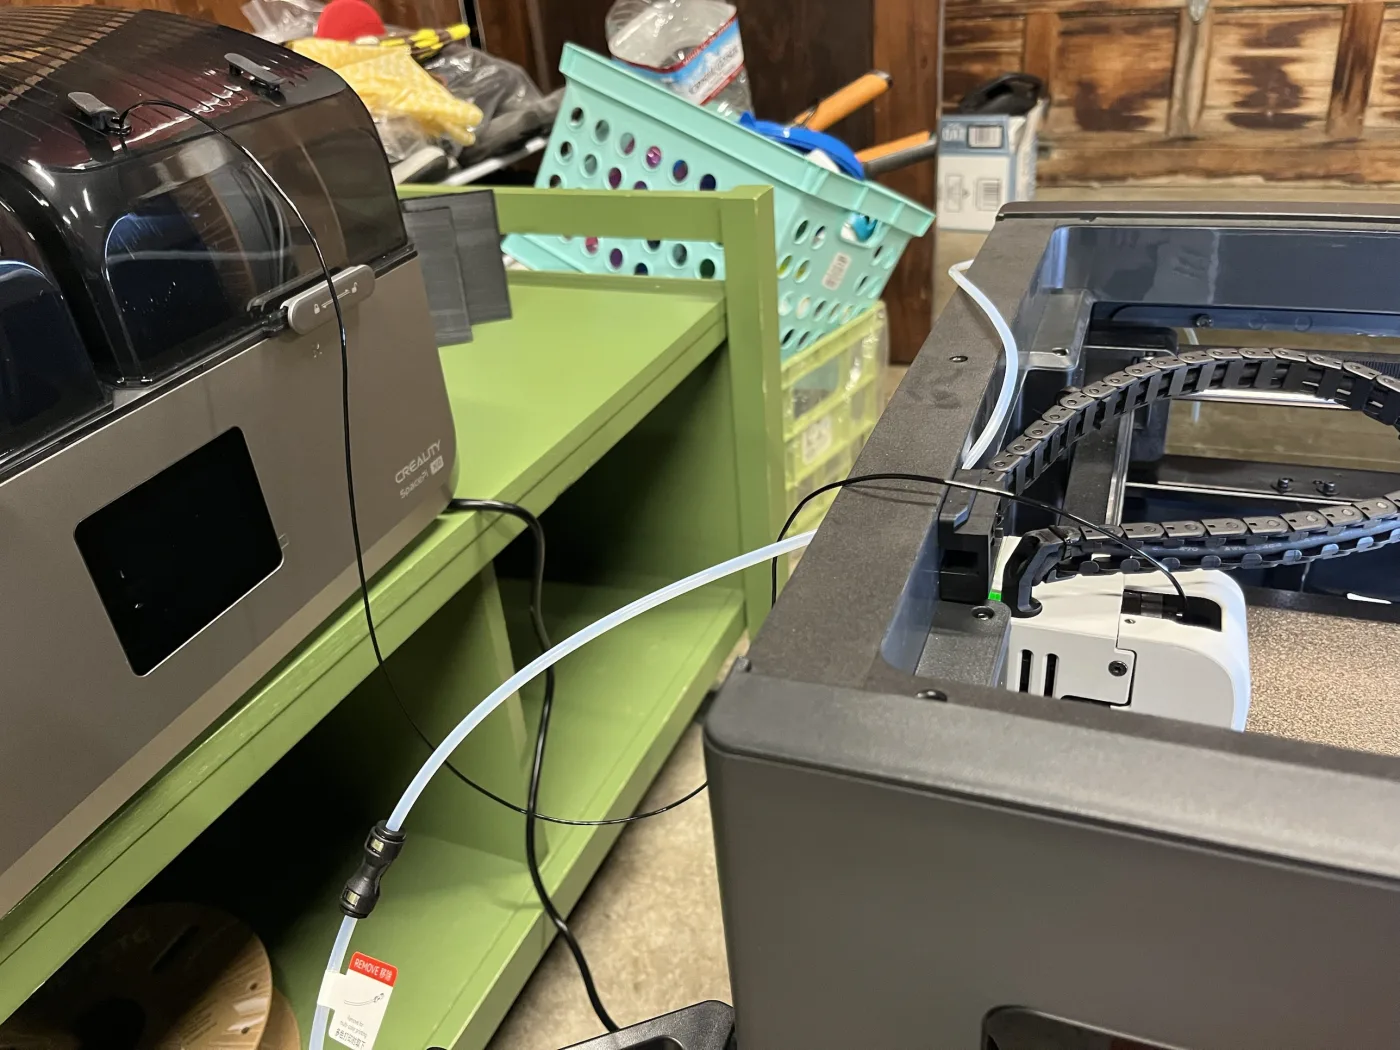
The other thing is, instead of using the clear, curvy tube, you remove the tube and feed the TPU directly from the spool, which is now up higher, into the extruder. The idea is that you can push it in very easily with your fingers right next to the extruder, at the hole where it goes in, and then you won't have the problem of it bunching up.
The broken spool holder
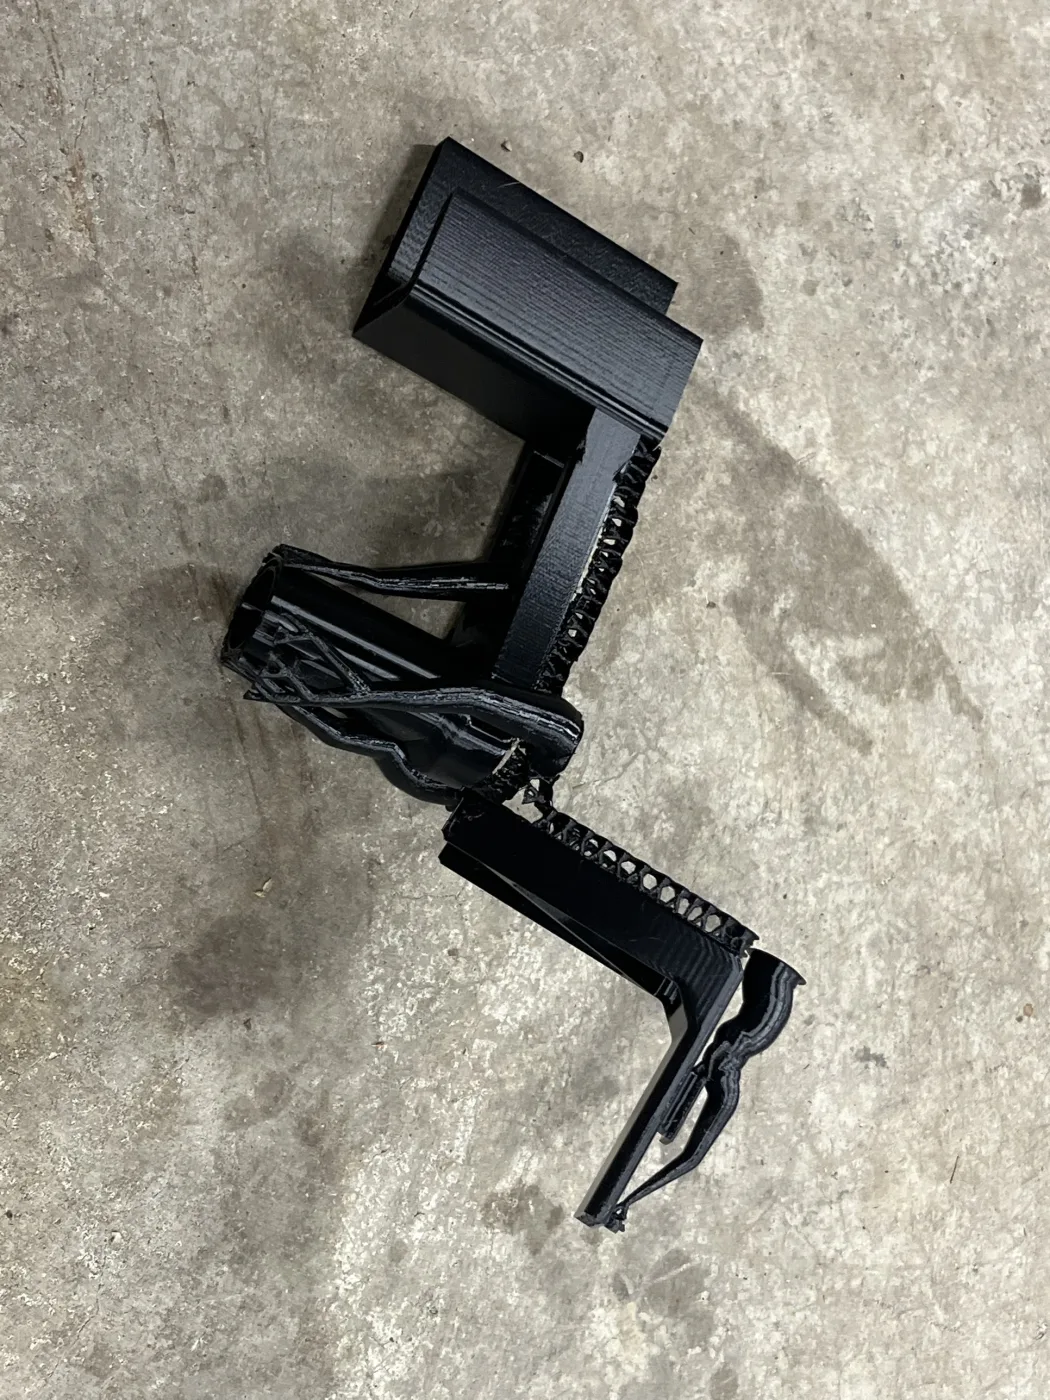
So I did an overnight job printing with PLA, the simple material, because I wanted to print this spool holder so I could get set up to actually use TPU, the rubbery one. I ran it all night, and then I came in at around 7 a.m. I opened the door, and it looked like it was mostly done. I took out the metal plate which it rested upon, and it felt a little hot.
A lot of times the part gets stuck to the metal plate of the 3D printer, so I tried to pull it off, and there's a scraper for that. As I was doing that, one of the small supports just cracked. Maybe I was doing it too quickly and roughly, but the entire thing broke in half, which effectively ruined it.
One of the reasons, I think, was that I did it too soon, because it was still quite warm, and I had just assumed the job had finished. It was a pretty long job, around eight or nine hours, and it looked like it had finished just a few minutes before I got there. But the 3D printer had actually run out of material, so the plate was warm and the material may not have fully solidified. Furthermore, it was missing some pieces on the top because it ran out of material, and I hadn't noticed it.
So the point here is, when you go to your 3D printer, before you take a model out, check the screen and check that there's some filament left. Make sure it didn't just die partway through, because in theory you can feed in new filament and continue the job.
The jam
In any case, the holder that the company had given me the file for had unfortunately broken in half. So I said okay, I'm going to feed it another way. I had bought a filament dryer, which has little holes, so I put that on a low bench behind my 3D printer and fed the TPU in directly. It seemed okay. It was kind of far away and a little awkward, but I managed to get it in, and then I started printing.
I don't remember exactly how long it ran, but at some point it just got stuck. I think what happened is it tried to pull, and it wasn't able to pull smoothly, maybe because it was too far and I had it inside this box. I wasn't using the recommended method, because as I just mentioned, the bracket I printed to hold it on the top broke in half. Probably as a result of that, it just got stuck.
When I say stuck, nothing would come out of the bottom anymore. I tried load and unload back and forth, I tried heating it up and then pulling it or pushing it, all these different things, and nothing worked.
After all that, I found one video about taking apart the top part of the extruder, which is where all the gears are. I thought, this is really a huge amount of work, because you have to take out all these screws, and I hoped I wouldn't have to do that. So I emailed the company, and they got back to me in a few hours. Their email said I don't have to take it apart, just look at this other video.
The other video was for the bottom part, the hot end. There's the gear assembly on the top, and then there's the part at the bottom that gets super hot, to around 250 °C. This procedure was pretty easy. You just disconnect a few things, grab the hotend with pliers because it gets so hot, and then use what I think was a 1.5 mm wrench to push through.
I did that, and I saw it push out a lot of black TPU, which was great. I thought, oh cool, I guess I cleaned up the blockage. So I put everything back, and it still wouldn't move. It couldn't load, couldn't unload, couldn't print, so I was back to square one.
Taking apart the extruder
I wrote to them again, asking if there was anything I could do that doesn't involve taking apart this huge gear assembly. A few hours later, since I think it was night in their time zone, I said forget it, I'm going to go ahead and just do this process.
The video for taking apart the gearbox and the extruder is only two and a half minutes, and they skip through it pretty quickly. It's not that bad, but when I first looked at it I thought, wow, this is a lot of work. You take out maybe 10 or 12 screws in total, a few different plates, and a cable, so you have to get deep inside.
So I started the process. Partway through, my son came and helped me out, which was really nice, because my eyes are getting a little old, so it's kind of hard to see the small pieces. We managed to do it, and the whole process of taking it apart only took maybe 10 or 15 minutes.
Just like in the video, right inside, deep in the gearbox after you remove all these pieces, there was a big, thick piece of TPU going through it at an angle. My son pulled it out with the pliers, and you could see it was bent in a weird curve, kind of like a V-shape. That had gotten stuck in the middle of the gears and totally blocked things up. Once that came out, we put everything back together, and lo and behold, it actually started working. Yay, that was great.
I guess one of the lessons of this is that if you're worried about how hard something's going to be, or how much work it's going to be, you really don't know until you try it. In my case, I thought it might take hours, or I might lose the screws. I was very careful when we did it. I put the screws in order in piles, and I even took a picture at one point.
Fortunately the company's video was quite detailed. It skipped through things pretty quickly, but it showed most of the steps. There were a few things that were not 100% clear, but we managed to figure it out. Also, the videos they gave were for a slightly older model, the Max4, which is mostly the same. There were some minor differences, which were a little bit concerning, but I would say 90% of the design inside looks the same, so we managed to figure that out.
Searching with Claude
One thing that was interesting is that when I asked Claude, it had surfaced one of the unclog videos but not the other one. It wasn't a big deal, but I was a bit surprised and frustrated it hadn't told me, since as a result I had to wait hours for the support team (though even had I found it, I might have waited just to see if that was the correct next step). I had cranked it up to Fable at this point to get the best quality, and asked it to make sure it found me all the resources. Still, it never told me about the video showing cleaning the bottom part, the hotend.
This really highlights one problem that I've seen many times before. Often, when Claude does searches, it uses a kind of API that's quite limited. It seems like a lot of sites, like Reddit, have very strong limitations on what you can read or how fast. These search APIs are not as good as a Google search. If you just do a quick Google search, a lot of times you get better and different results than the APIs that Claude hits.
Fortunately there is a solution, which, at least at this point in time, is to use the Chrome extension. Then Claude will actually do searches right through your browser as if it was a human there, because you pretty much are there. You have to make sure it doesn't go too fast, because if it does, the websites will still think that it's a bot. It does that pretty well most of the time, but you might have to give it some guidance there.
So I made a note to Claude saying that in the future, for important things like triaging a blocking problem, it should search using Chrome to double-check, because the API is just very limited. I've seen that many times.
Supports
So those are some lessons with the 3D printer. To be honest, when I first bought a 3D printer, I was expecting it to be pretty easy. You just plug it in and it works.
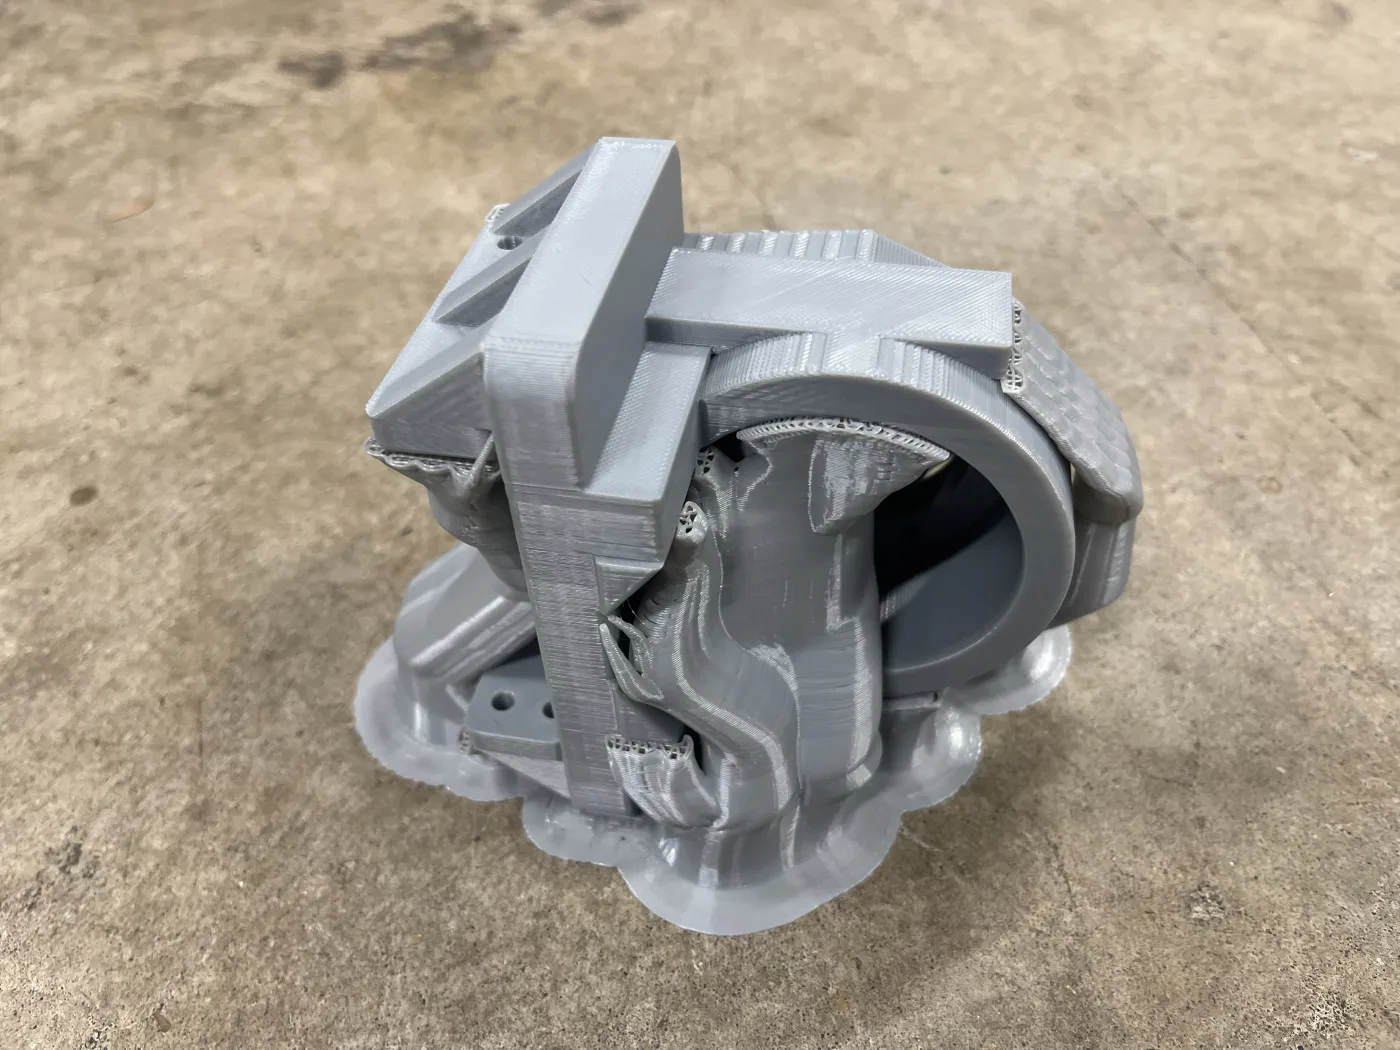
One other thing I'll mention, since I'm talking about the 3D printer, is the idea of supports. I saw a few models printing on different printers a while ago, and for some reason I never remember seeing these. If you have certain models with overhangs, depending on the geometry and the structure, you need something called supports.
These are organic, tree-looking, funky branch things that come up from the plate. They look kind of scary, almost like an alien or some weird shape, but again, they look like trees. Their purpose is to hold up the overhanging or unstable parts so that they don't fall in the middle of the job. When everything's done and solidified, you take them off.
Unfortunately, sometimes they're very hard to take off, and you have to cut or twist them. The first few parts I made for the LocksleyFox leg were quite difficult, and even now I'm not really great at it. Sometimes I still have to spend 20 or 30 minutes, and it's kind of painful on your fingers if you do it the wrong way.
So you get a wire cutter, a wrench, or different tools, even a kitchen knife, which I was using to get these supports off. If you don't remove them, the part might look bad, or might not even be usable. So that's another thing you really have to get used to when you're using a 3D printer.
All right, I think that's it for this post. Thanks for reading.
Videos and pictures